ARTWORK
Set up artwork for a clean shirt print
A few file checks help your artwork arrive at the print area ready to go.
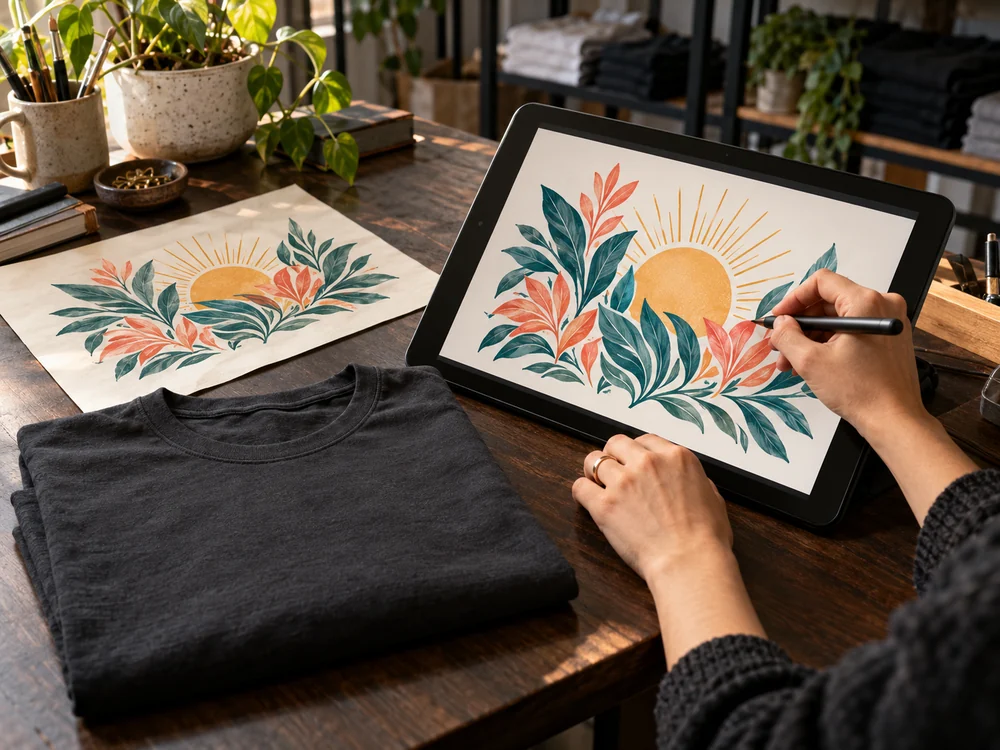
A good shirt print starts before the upload. A clean source file, an intentional background and the right dimensions give your design a better starting point than a screenshot pulled from a message thread.
Begin with the best original
Export from the app used to create the artwork whenever you can. A transparent PNG is useful when the shirt should show around the design. A high-quality JPG can suit a picture with an intentional background. Keep the original project file, too, so you can revise the design later without rebuilding it.
A larger export cannot restore detail that was missing from a small original. If the only copy you have looks blurry, describe that when requesting design help rather than repeatedly enlarging it.
Work backward from the print size
Think about the size you want on the shirt. At 300 pixels per inch, a 10-inch-wide design needs about 3,000 pixels across. That is a preparation example, not a promise that every garment offers that print width. The selected shirt’s print area takes priority.
Look at the artwork at its intended size. Small lettering that looks clear when you zoom in may be difficult to read when printed.
Make transparency intentional
Check whether a white rectangle is part of the file. If you expect only the artwork to print, that background needs to be removed in an app that supports transparency. Examine the outer edges for stray pixels and unwanted borders.
Leave enough room around important details to position the design comfortably inside the print area. Cropping the file tightly can also make it easier to understand what you are moving in the preview.
Your final file check
- Open the exported file to confirm it matches the original.
- Check spelling and inspect thin lines at the intended size.
- Confirm whether the background should print or stay transparent.
- Review the exact shirt color and both printed sides in FormiQ.
Keep the original nearby until you have reviewed the finished preview. A minute spent checking the source can save a much longer round of corrections.